My Blinkies
Feel free to grab my blinkie to display on your blog.


My Creative Team

Tut Writers Inc.

CT Member for


10 April 2010
Sugar and Spice

This tutorial was written for those with a working knowledge of PSP
PSP XI (any version will work)
Tube of choice
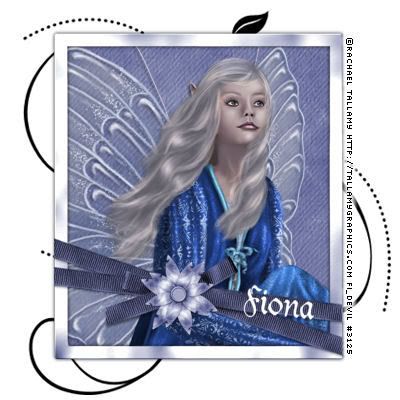
I used the lovely artwork of © Rachael Tallamy. You can purchase a licence from HERE
My Supplies - Here
Scrapkit was supplied by Scrappy Expressions. Thank you Melissa for your wonderful kit.
Font of choice - I used ‘Dukeplus’ (Included in my supplies)
Remember to save often
1) Open a new transparent image - size 400 x 400. Flood fill white.
2) Copy and past the doodles onto your background and resize, (I resized mine about 75%)
3) Copy your frame to the workspace and resize to about 75%.
4) Select your frame and apply drop shadow - go to Effects - 3D Effects - Drop Shadow – V & H set to 0, Opacitiy is 100 and Blur set to 5.
5) Open your image you are going to use and apply the same drop shadow as the frame. I resized the image by 75% and then erased the rest of the image that didn’t fit into the frame with the eraser tool.
6) At this stage make sure that you select the layer below the image.
7) Select your Rectangle tool, making the background of the rectangle the pattern you are going to use as the background behind your image.
8) I then drew a rectangle just a little larger than the inside of the frame using the SE_Gingerbread Paper 1 as the background. Once you are happy with the size of the rectangle convert to raster.
9) Hide your image so that you can see the workspace completely without the image hampering your view.
10) Once you are happy with the way the background is sitting. Unhide your image again so that you get the full picture.
11) Add your embellishments applying the same drop shadow to them.
12) Now add the © Copyright information and add your name to your tag. You are finished.
Here is another example of the same tag but with different elements.
I hope you enjoyed doing my tutorial.
This tutorial was written on 20th December, 2007.
Any resemblance to another tutorial is purely coincidental.
© Fi_Devil Tutorials

Subscribe to:
Post Comments (Atom)

0 comments:
Post a Comment