About Me
Copyright Text
Blog Layout Created By Fiona Devil
Artwork by ©Arthur Crowe
My Blinkies
Feel free to grab my blinkie to display on your blog.


Chat Box
Powered by Blogger.
01 February 2011
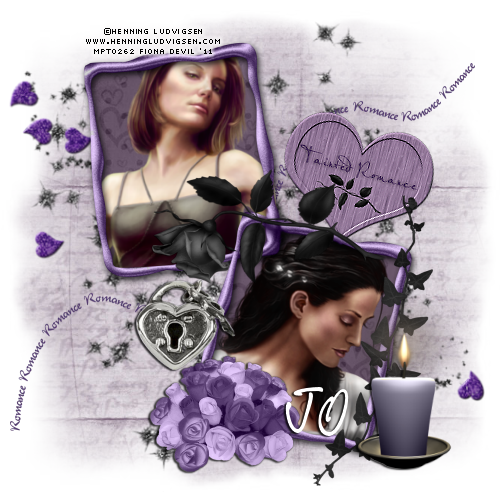
Tainted Romance
Materials Needed:
Paint Shop Pro - I used PSP X but any version will work just as well
I'm using the wonderful artwork by Henning Ludvigsen from MPT. You will need a licence to use his artwork. You can purchase his work HERE. You dont have to use his work, you can use any artist of choice.
Scrap kit of choice. I used the gorgeous scrap kit Tainted Romance by CBJ. You can purchase the kit HERE
Font of Choice - I used PR8 Charade.
Mask of choice.
Remember to Save often
Lets get started:
First off start by opening a new image 500 x 500 with a transparent background
Open a new Raster layer and apply a background colour as a new layer, or use a paper as your background. I used Paper 7.
Apply your mask of choice and reduce the transparency to 70% or as you desire.
Open the Tainted Romance Frame Rose. Copy and paste to your palette.
Open the Glitter Heart Spill. Copy and paste to your palette, arrange where you like it.
Use your lasoo tool and trace out the opening of the frame. I traced the middle of the frame line itself. Once you have the frame selected, go to Layers - New Raster Layer - Blend mode normal. Position this layer below the frame and select your paint tool. Select a colour that will compliment your tube. I used Paper 11. Flood fill inside the frame. Deselect the frame. Do the same to the other frame.
Copy and paste your tubes so that they are between the frame layer and the paper. Select your eraser tool and erase the parts of the tube that show on the outside of the frame.
Position a selection of elements on your tag where you like.
Now apply the copyright to your tag. I used Pixelette to write the © on my tag.
Use a colour to compliment your tag. I used #FFFFFF. I then applied a drop shadow to the font as a final touch.
Save your tag as a JPG or PNG.
Now apply the copyright to your tag. I used Pixelette to write the © on my tag.
Use a colour to compliment your tag. I used #FFFFFF. I then applied a drop shadow to the font as a final touch.
Save your tag as a JPG or PNG.
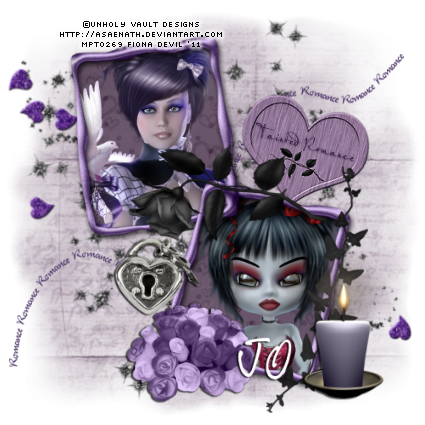
Here is another version of the same tag using the awesome work of Unholy Vault Designs.
You are now finished.
Thank you for trying my tutorial.
This tutorial was written by me on February 1st 2011.
Any resemblance to another tutorial is purely coincidental.
©Fi_Devil Tutorials
Labels:
Tutorial
|
0
comments
Subscribe to:
Posts (Atom)


