My Blinkies
Feel free to grab my blinkie to display on your blog.


My Creative Team

Tut Writers Inc.

CT Member for


10 April 2010
Puppy Love

YOU WILL NEED:
* Paint Shop Pro. I used PSPXII but you should be able to make this tag in earlier versions.
* Tube of choice. I am using the artwork of Suzanne Woolcott. You will need a licence for her artwork which can be purchased from HERE
* Scrap Kit by Passionate-Scraps. Thank you Mandy for allowing me to use your fabulous kit Puppy Love. This is no longer for sale.
* Font of choice - I used Impact and Pristina
LETS START!
Open your scrap kit up and select the ellements you wish to use and open them up in psp and minimise. Select your papers from the scrap kit and minimise. Open the preset shape provided and minimise.
1. Start off with a blank canvas of 500 x 500 flood fill with white
2. On your blank canvas. Place your flower element in the centre of the canvas. Reduce the size of the flower, I reduced by 40%.
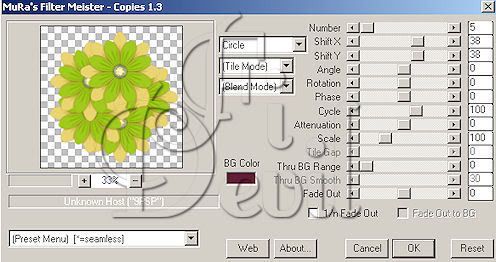
3. Go to Effects - Plugins - MuRa's Meisters - Copies - Circle. See settings below.
4. Next Maximise your preset shape. Copy the shape of choice and paste as a new layer in your canvas. Close your original image.
5. Using your magic wand tool, Select the preset shape till you have marching ants around the edges

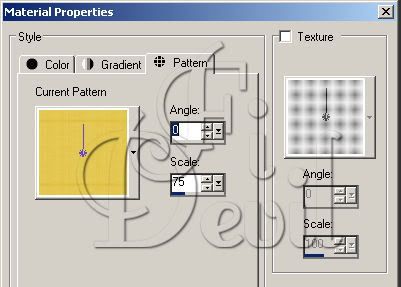
6. In the layers palette, duplicate the preset shape. Select the top shape and apply a colour that will compliment the colour scheme you have used. Floodfill the layer with this colour and while still selected. Select the next layer in the palette. In your materials palette, select the background colour of choice. I selected paper pattern 6 from my kit and set the properties as shown below.
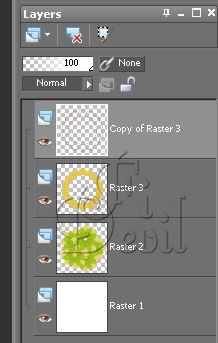
7. Now select the top layer again and go to Selections - Modify - Contract - Contract by 2 pixels then hit delete. Now go to Selections - Select None. This is what you should have in your layers palette so far.
8. Activate your ribbon image and copy and paste to your image. Close the original copy. Resize this layer to fit the frame. I resized by 60%. Position where you like on the frame layer.
9. Select your magic wand tool and select the top layer of the frame outline. Ensure the marching ants are on the outside of the frame layer (see below).
10. Select the ribbon layer in the layer palette and then go to Selections - Invert. Hit the delet button. This should get rid of any excess ribbon outside of the frame. Go to Selections - Select None.
11. Now select your circle tool and draw out a circle to fit inside your framed layer. Make sure it is slightly larger than the inside of this frame. Now position this layer below the frame.
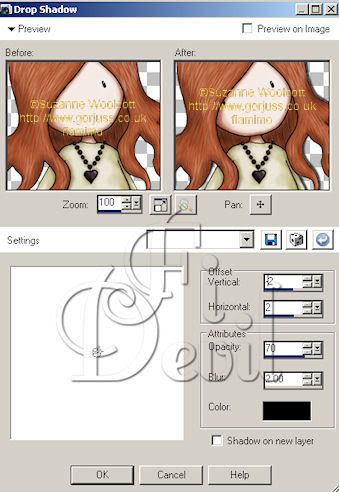
12. Select your tube and copy and paste onto the image. Resize to fit the frame. I reduced my tube by 65%. Position where you like it and apply drop shadow. Go to Effects - 3D Effects - Drop Shadow (see below)
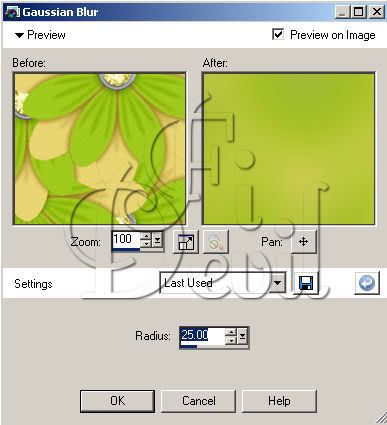
13. Select the flower layer in the layers palette and right mouse click and duplicate. Select the bottom layer and go to Image - Resize - by 90%. Then go to Adjust - Blur - Gaussian Blur - by Radius 25.00 (see below).
14. Add your elements of choice on your tag. Apply drop shadow as above and Then apply your word art as desired.
15. Add your © Information and then your name and save your tag as a jpg. You are finished.
Thank you for trying my tutorial
This tutorial was written on 8th July 2008.
Any resemblance to another tutorial is purely coincidental.
©Fi_Devil Tutorials

Subscribe to:
Post Comments (Atom)

0 comments:
Post a Comment