My Blinkies
Feel free to grab my blinkie to display on your blog.


My Creative Team

Tut Writers Inc.

CT Member for


10 April 2010
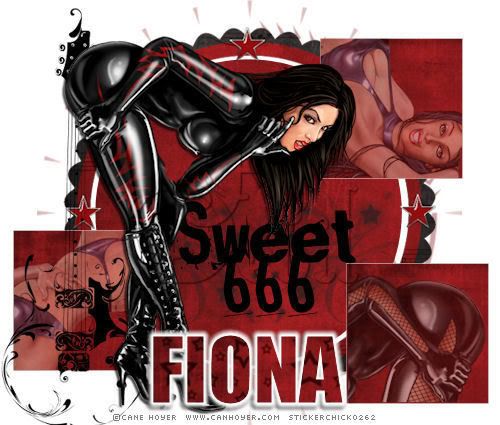
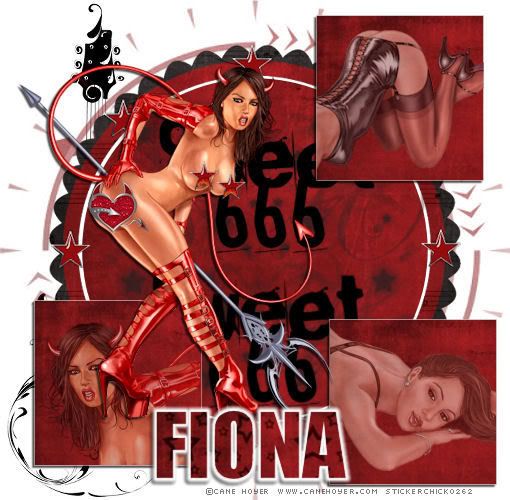
Rock Devil
YOU WILL NEED:
* Paint Shop Pro. I used PSPXII but you should be able to make this tag in earlier versions.
* Tube of choice. I am using the artwork of Cane Hoyer. You can find his work HERE.
* Scrap Kit by Digital Chaos. Thank you Yarrow for allowing me to use your fabulous kit Rock Devil. You can purchase the kit HERE
* Font of choice - I used Impact. You can find it HERE if your computer doesnt have it already.
* Eyecandy Gradient Glow (You can substitute this for a white drop shadow).
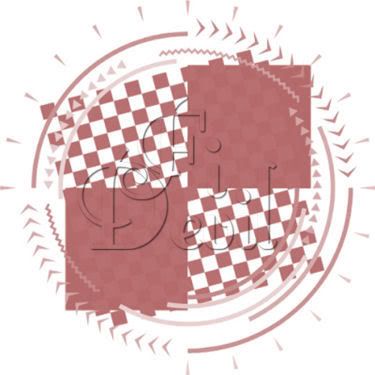
* Mask of choice. I used nik-patches. Open and minimise to use later.
LETS START!
1. Open your tube and scrap kit in PSP. Open your font (by double clicking on it in Windows Explorer) and minimise to use later.
2. Open a new image 500 x 425 with a white background.
3. Add a new raster layer. Use a colour that will contrast with your tube and flood fill this layer.
4. Now go to Layers - New Mask Layer - From Image. Select your mask from the drop down list - Invert mask unticked - Source luminance selected. When it is how you want it, merge the group in your layers palette by right clicking on the mask layer and select Merge - Merge Group.
5. Select your preset shape tool and set to rectangle. Foreground colour set at white with the line width set at 1 with the background colour set at the same as the mask layer, I used a paper pattern 01 as the background to my rectangles. Draw out a rectangle for your tag and once it is the size you want convert to raster layer. Now duplicate this layer until you have 3 shapes.
6. Position where you want them to be. Now select the rectangle with your magic wand tool and position your tube where you want it to be. Select the tube layer in the layers palette and then go to Selections - Invert - Hit the delete button and this should just leave the tube in the selected area. Ruduce the opacity to 50% on the tube layer. Go to Selections and Select None. Do this to each of the rectangle layers.
7. Activate your frame image and copy and paste to your tag image. I used Frame2. Close the original image. Position on the tag where you would like it to be.
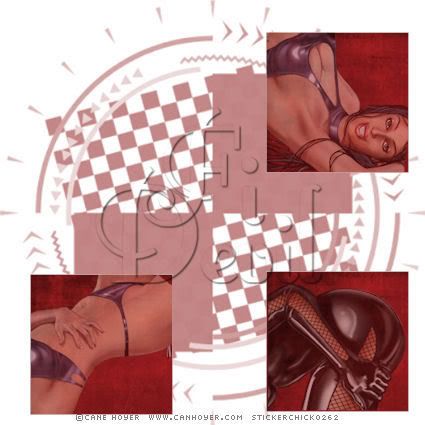
8. Select your Preset Shape tool again but in the Circle. With the forground set to white and the line width set to 7 and the background set to the patterned paper. I used paper pattern 01. Draw out the circle so that it still shows the white in the middle of the frame. Position this layer below the frame layer as shown below.
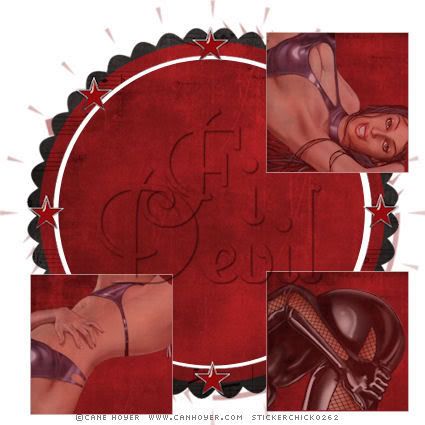
9. Now position the elements on your tag from your scrap kit and then add your tube to the tag as the top layer and apply drop shadow to the tube. I used V= 2, H= -2 O=70 Blur 2 colour black.
10. Add your ©Information and then add your name to the tag. Apply the Gradient glow to your name and then apply drop shadow as above.
11. Save your tag and you are now finished.
Here is a different version of the same tag.
I hope you enjoyed doing my tutorial.
This tutorial was written on 7th July 2008.
Any resemblance to another tutorial is purely coincidental.
©Fi_Devil Tutorials

This tutorial was written on 7th July 2008.
Any resemblance to another tutorial is purely coincidental.
©Fi_Devil Tutorials
Subscribe to:
Post Comments (Atom)

0 comments:
Post a Comment