About Me
Copyright Text
Blog Layout Created By Fiona Devil
Artwork by ©Arthur Crowe
My Blinkies
Feel free to grab my blinkie to display on your blog.


Chat Box
Powered by Blogger.
20 September 2010
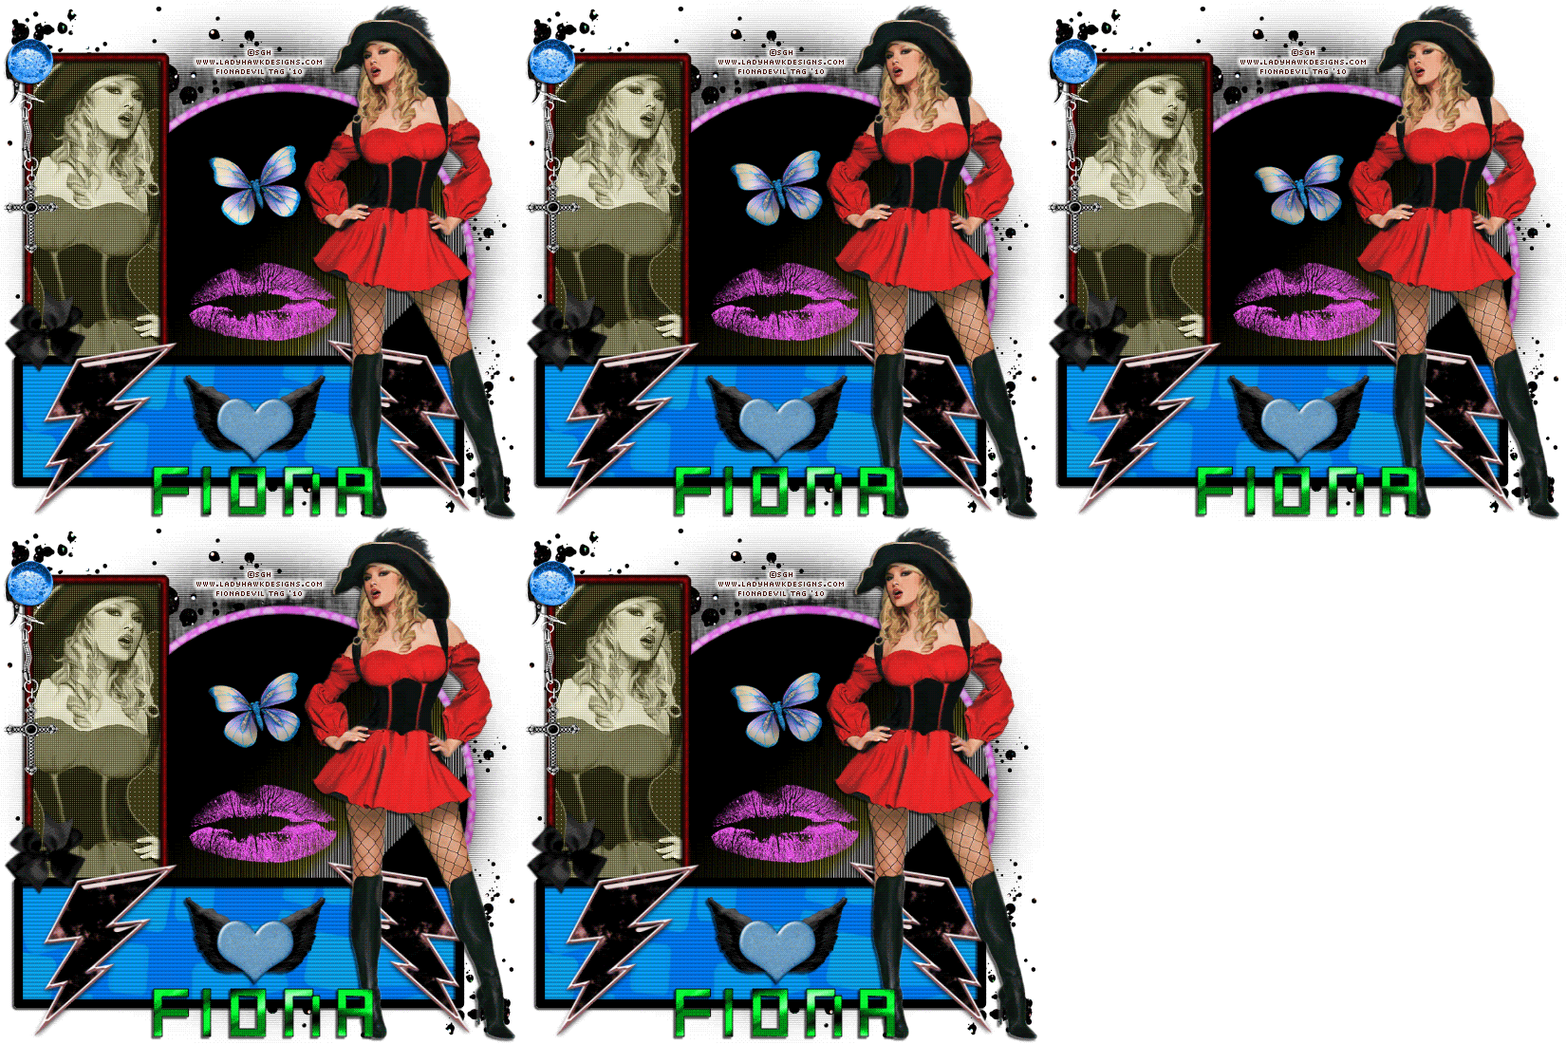
Beautifully Punked

This tutorial was written for those with a working knowledge of Paint Shop Pro.
This tutorial was written by me and any resemblance to any other is purely coincidental.
Tutorial written on Monday 20th September 2010.
What you will need:
Paint Shop Pro - I used PSP X but any version will work.
I used Photoshop for the animated element but most will use Animation Shop. This step is optional, only if you want to add animation to your tag. (I use PS to do my animations as they don’t appear as grainy once it is saved).
Filters Needed - Penta Dots and Crosses
Mask by Creative Desires 31 but you can use any. Save your mask to your mask folder.
I used the great work of ©SGH. You can find both the Tube and the Template I used HERE
I used this fabulous PTU Scrap kit by CBJ - Punked Up (Tagger Sized), you can purchase it HERE
Let’s get started
Open up a transparent canvas 550 x 550
Open the Punked Up Paper 16 or your choice of paper and minimise for use for the mask. Select your Foreground and locate the paper in the pattern. Select. Select your flood fill tool and fill the canvas with the paper. Select Layers – Load/Save Mask – Load Mask from Disk. Select your mask. I had the Invert transparency ticked, then merged group.
Open your template in Paint Shop Pro. Copy the original by holding the shift + D and now close the original. Now go to Image – Resize – make sure the box is ticked for resize all and resize by 90%.
Select your frames and re-colour to match your tube. I used Punked Up Paper 9 for frames.
Copy your tube and position on the layer below the frame, move it around to where you want it.
Select your Vertical rectangle frame and select the inside with your magic wand. Go to selections – modify – expand by 3 pixels.
Select your tube inside the frame and go to selections – invert – hit the delete button to remove excess tube.
Select Luminance (Legacy) in the blend mode. Then go to Effects – Plugins – Filters Unlimited – Penta.com and select Dot and Cross with default settings OK.
I used the circle and the long rectangle provided in the template but made my own for the bottom. Using the papers for the rectangle shapes but just changed the colour for the circle.
I re-coloured the frames around the templates using the papers from the Punked Up scrap kit, you can do this or you can colour them to match your tube or leave them as they are.
Copy your tube and paste to the canvas, reduce to 68% Mirror the tube and apply drop shadow.
I used V 2, H -2, O 70 Blur 2.00 colour Black
Add your elements as you desire and place your tube where you want it.
Merge your layers and save your tag as a PNG or as a JPG. If you want to add animation to your tag like I have, save your tag as a PSD file. Now go to your animation shop and open the file you just saved.
Open your animation in animation shop. Make sure your propagate paste is selected in the toolbar. Select your tag you want to add the animation to. Copy your tag for the required amount of frames you need to accommodate the animation file. Click on the duplicate button on the toolbar. If you want to know how to add animation to tags in Photoshop, there are tutorials available for these.
I duplicated the tag to four frames for the butterfly animation that I made from the elements in the Punked Up scrap kit. I made the Butterfly animation in Photoshop using the puppet warp and the burn tool.
This is not included in the kit as an animated element.
Once you have the required frames. Highlight all frames and select all by holding the CTRL key and A on the keyboard.
Go to the animation tube and select all. Then copy all frames. Take this to your tag and holding the CTRL key and E paste the animation on the tag where you want it to be.
While the tag is still highlighted, go to Animation – Frame Properties and set to 20 – Okay.
Now save your tag as an animation. Using the default settings.
Your tag is now finished.
I hope you enjoyed doing this tutorial.
©FionaDevil Tutorials
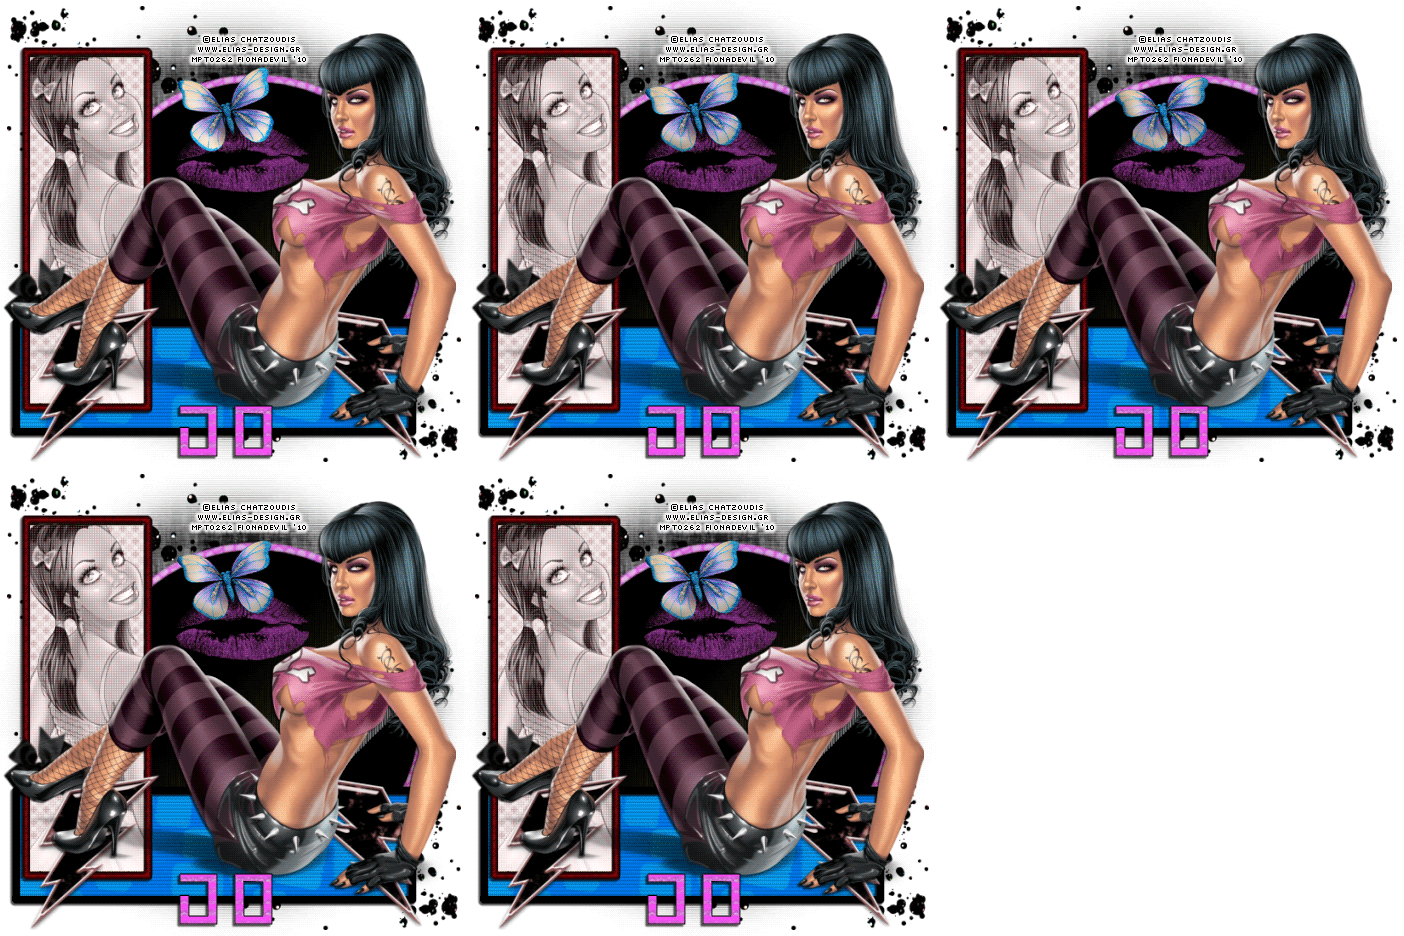
Here is a different version of the same tag using the wonderful artwork of Elias Chatzoudis which can be purchased from PTE which is HERE
Labels:
Tutorial
Subscribe to:
Post Comments (Atom)


0 comments:
Post a Comment