My Blinkies
Feel free to grab my blinkie to display on your blog.


My Creative Team

Tut Writers Inc.

CT Member for


14 July 2011
Burlesque
I wrote this tutorial for those who have a working knowledge of Paint Shop Pro.
Remember to save often.
You will Need:
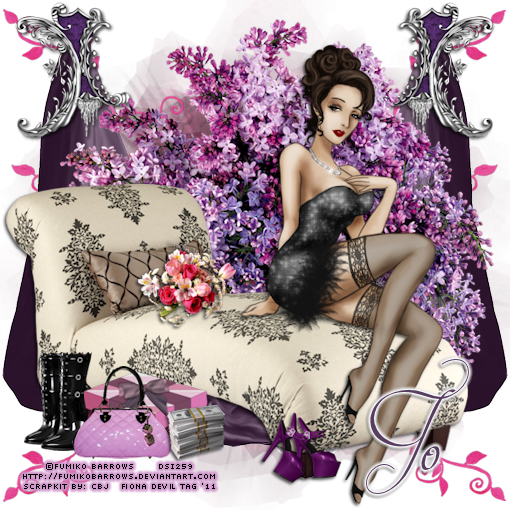
Scrap kit. - I am using the wonderful Burlesque PTU kit from CBJ which can be purchased from Dreamscape Imaging.
Tube of choice - I am using the fantastic art by Fumiko Barrows who is also at Dreamscape Imaging and you can find her artwork Here.
Mask of choice. I used Circle 1 by Tonya. You can use any mask.
Filter - Eye Candy Gradient Glow.
Now to make your tag:
1. Open a canvas of 600 x 600 leaving the background transparent.
2. Open the papers in your kit and select one that will compliment your tube. I chose CBJ_BurlesquePaper10. Once you have your paper open, open your colour palette and change the foreground colour to Pattern, then find your paper you have open in your window and select your paint tool and fill the blank canvas. I minimised my paper by 60% and then applied my mask and merged group.
3. Place all the elements on your canvas till you are satisfied with the way it looks and then add your tube.
4. Apply drop shadow to your elements and tube.
5. Add your copyright to your tag and make sure it is legible.
6. Add your name and then save your tag as either JPG or PNG.
You are now done.
Thank you for trying my tutorial.
This tutorial was written by me on 14th July 2011.
Any resemblance to another tutorial is purely coincidental.
©Fi_Devil Tutorials
©Fi_Devil Tutorials
Subscribe to:
Post Comments (Atom)

0 comments:
Post a Comment