About Me
Copyright Text
Blog Layout Created By Fiona Devil
Artwork by ©Arthur Crowe
My Blinkies
Feel free to grab my blinkie to display on your blog.


Chat Box
Powered by Blogger.
26 May 2011
Birthday Bash

This tutorial was written for those with a working knowledge of Paint Shop Pro.
*For this tutorial you will need Paint Shop Pro - I used PSP X (any version will do)
*Tube of choice, I used the gorgeous work of Tatjana Willms. You can purchase a license from HERE. Please don't use tubes which are licensed unless you purchase the right to use them
*Scrap kit of choice. I used the Birthday Bash scrapkit by Angels Designz, can be found HERE.
*Mask of Choice
Font of Choice - I used OfficeScriptDT
Font of Choice - I used OfficeScriptDT
**Remember Save often**
Lets Begin
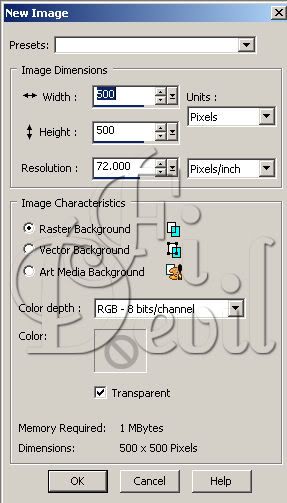
1. Open up a new Image 500 x 500 with the background on Transparent as shown below.
2. Select one of the papers or a colour that will compliment your tube. I chose AD_Paper6
Add your mask to your paper layer. Layers - Load/Save Mask - Load Mask from Disk - Select your chosen mask and ensure your Invert Transparency is unticked. If this doesn't work as shown, you might need to put a tick in the Invert Transparency box. Select Load.
I reduced the opacity to 75% so that it wasn't such a strong pattern and blurred the image by 2.
I reduced the opacity to 75% so that it wasn't such a strong pattern and blurred the image by 2.

3. Next open the AD_ColorfulSplatter and reduce in size to fit your image. I reduced by 80% Copy and paste to your image.
4. Now open your Frame and put onto your image. Grab your selection tool and click on the middle of the frame till you have the dancing ants. Go to Selections - Modify - Expand - Expand by 5 pixels, make sure you select the Sparkles layer and hit delete. You should now have the frame without the sparkles in the middle.

5. Select the elements you wish to add to your tag and place where they will enhance your tag. As seen below.
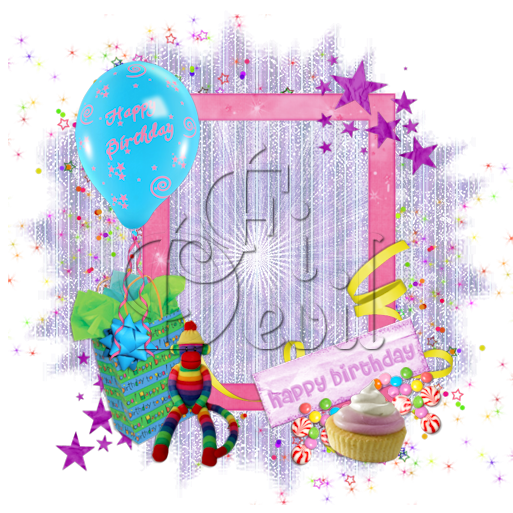
6. Select your tube and paste to your tag. You can have your tube behind your frame or partly on top as show by my tag. Move your tube layer below your frame. If you want parts of your tube to be on top of the frame. Duplicate your tube and then remove the parts that you want showing behind the frame layer. Add the © copyright information on your tag and then you are ready to add your name to the tag.
Add your name and save as a PNG or JPG.
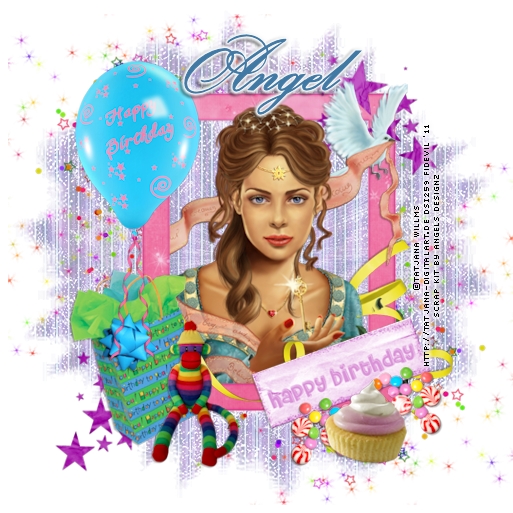
You are now finished.
Thank you for trying my tutorial.
This tutorial was written by me on May 26th 2011.
Any resemblance to another tutorial is purely coincidental.
©Fi_Devil Tutorials
Thank you for trying my tutorial.
This tutorial was written by me on May 26th 2011.
Any resemblance to another tutorial is purely coincidental.
©Fi_Devil Tutorials
Labels:
Tutorial
Subscribe to:
Post Comments (Atom)


0 comments:
Post a Comment